Wednesday, October 22, 2014

Cell Phone Fun

card closed
Pin It

card open
Pin It
click on logo

Hi everyone,

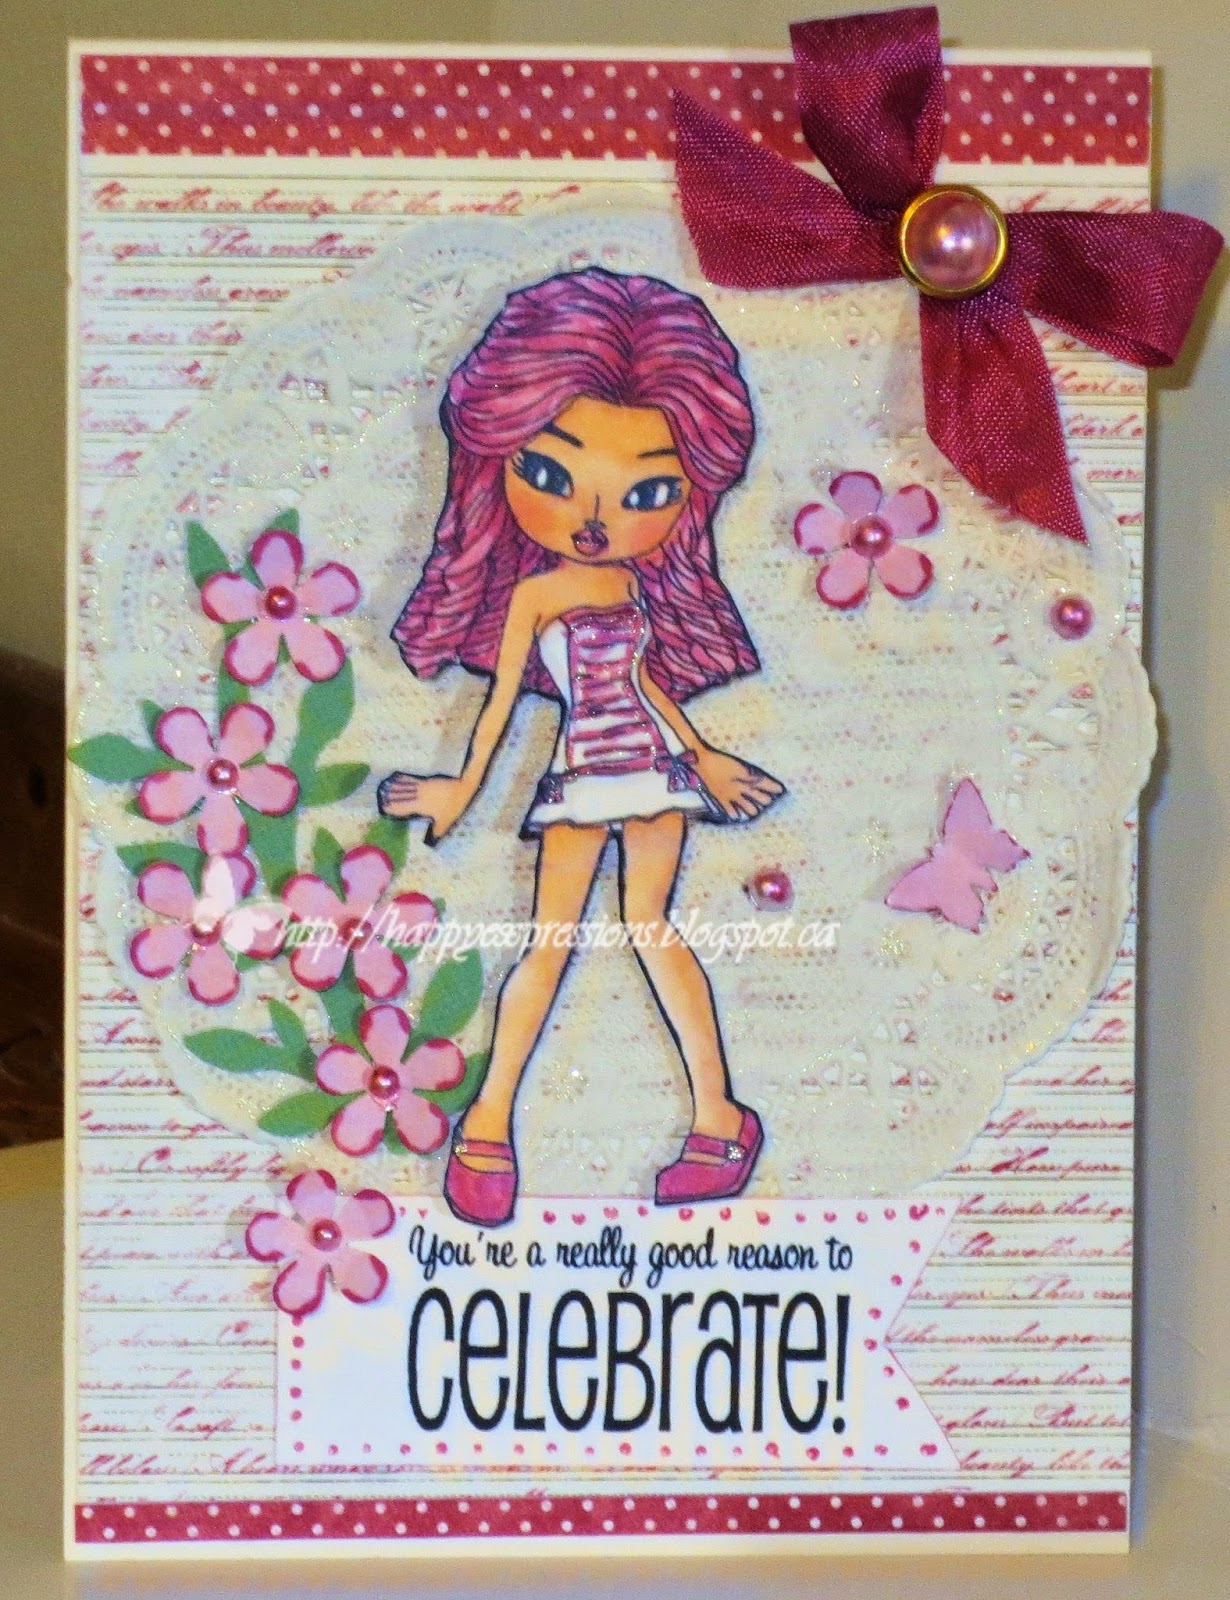
Today's card is for the Fairies in Time challenge. Our sponsor is Time for Tea. I have used this cute image of a girl on a cell phone. I printed it onto neenah cs and colored it with copic markers. 
E000,00,11,31,25,51, R81,83 N2,4, The card base is neenah cs cut at 6x8 and scored on the long side at 2-3-5-6-and 1 and 5 on the short side. I cute the pink paper 1.75 x 5.75 and the dsp that is layered onto the pink is cut at 1.5 x5.5. The four small pieces I punched out with my.74 punch. If you have any problems trying this let me know and I will help you out. The DSP is from momenta 6x6 paper pad. The flowers were cut from a MS punch then added with foam dots.The buttons are from my stash. The ribbon is also from my stash but It was the last small piece big enough for a bow. I then added some liquid pearls on two corners and top/bottom of card. I do hope this card inspires you to make something new this week. 

I will enter this card into this challenge


Thank you all for stopping by, happy crating and have a fabulous day!


Sunday, October 19, 2014

Bird Candy


Pin It

click on above logo

Hi everyone

On 613 Avenue Create today our optional theme is candy. I am using this cute image garden 13. I printed the image onto neenah cs and colored it with copic markers. E31,35,37,  N2,  R29, Y21,23. The bird candy is jut a cone and the end of my copic made the dots for the candy. I used N2 to make the chain. The leaves in the background is SU a touch o nature using the olive green ink. The card base is bazil cs in mustard color.The DSP is from a 6x6 card pad called moments. I then used a MS border punch on the bottom of the cs. The yellow ribbon is MS and it just would not go into to a bow so I ended up making a knot. The orange enamel do is one I made using the clear pony beads. I hope you have enjoyed my take on the theme candy.

Thank you all for stopping by to visit, happy crafting and have a great day!


Tuesday, October 14, 2014

Hoppy Christmas!

Pin It
Click above logo


Hi everyone,

Here is a card I made from Deedees Digi Oh hoppy day! I thought it was such a cute set so I had to work with it. I used two of the kangaroos the happy holidays and happy birthday. I just thought it would be so cute to put two of them together. The card base is neenah cs and the DSP are from a K&Company Christmas paper stack.I have used the pre colored images and printed them onto neenah cs. I decided to make a few hills from the neenah card stock then hand cut a couple of hills. I then added some glitter to the snow and some on both images. The ribbon is from SU and I made a bow. The bow isnt showing up much now but it is there. I used a flower from my stash and glittered it with MS fine glitter. I found a pinecone in my stash and took off 4 of the little pieces and added them under the flower. I cut the sentiment with the bitty banner die. The kangaroos are popped up with foam dimentionals. I also decided I wanted the eyes bigger so I used a fine sharpie and then added the white back in the eyes. 

I will add this card into this challenge.


Thank you all for stopping by, happy crafting and have a fabulous day!

Tuesday, October 7, 2014

Pink Christmas

Pin It


Hi everyone,

I love flamingos! When I saw this cute set from Deedee's Design new release called Pink Christmas. I just had to create a Christmas card with the flamingo. The card base is neenah cs cut at 11 x 4.25 folded in half. The DSP is from an old DCWV stack I picked up a few years ago. I love the colors and designs in this pack so I found I have used it every year so far and there are still quite a few pages in the stack. The image was printed using the pre-colored design in ms word. I then cut it out with a fancy oval frame. I colored the white areas with sukura clear glitter pen. I used the pink glitter pen to color around the inside of the frame and faux stitched around the sentiment label. The label was punched out using SU modern label punch. I also cut the DSP with the lable punch, cut it in half and added it to each end of the sentiment label.

I am entering this card into this challenge

Through The Craft Room Door - anything goes

Thank you for stopping by, happy crafting and have a fabulous day!

Sunday, October 5, 2014

Cupids Delight

Pin It

Click on logo

Hi everyone,

Our challenge on 613 Ave Create this week is Scrappers Delight. I am using this  cute image called Cupid 2. I printed it onto neenah card stock and colored it with copic markers E000.00.11.51,35,37, R20, BV000,01,02, I then used the sizzix circle dies and cut the image  using the big shot. I then used a smaller circle and used the DCWV stack and then a larger circle with the same stack to make the card base. I distressed the edges and used dimensional foam to layer them onto the card base. The flowers were punched with an small punch then colored with sukura purple glitter ink and added with glue dots. The pearls were added to the centers with glue dots. The ribbon is also from my stash. I added sukura glitter clear pen onto the wings but it doesn't show in the photo. It is very pretty in real life. I hope this will inspire you to make something and join in our challenge. 

Thank you for stopping by. happy creating and have a fabulous day!

Wednesday, October 1, 2014

Fashion Gal

Pin It
Hi everyone,

We are starting a new monthly challenge at Fairies In Time today. I hope you will feel inspired to join us in the challenge. The theme this month think pink. 
Todays card image is called fashion gal chanelle. I printed it on neenah cs and colored with copic markers. E 000,00,21, R20,81,83,85, I fussy cut her out and layered the card with DSP unknown and then added a small doily. It has sparkles on the doily using sukura clear glitter pen. The flowers were punched with a small flower punch using the same DSP. I colored the pearls in the center with R83. The butterfly was punched with a small MS punch. The sentiment is from my word program. I cut a notch from one end and added a few dots around it to make it not fade into the back ground. I wish I had of done the same with the doily. The ribbon is seam binding from SU made into a bow and then a small brad was added with glue dots.

Thank you for stopping by, happy crafting and have a fabulous day!